Showing posts with label DIY. Show all posts

Thursday, March 8, 2012

Homemade Face Wipes and a Little Spring


The trees are blooming here in Prescott Valley.  The weather has been strangely beautiful.  It must mean we are do for snow.  Gotta love Arizona.  They say if you don't like the weather, wait five minutes it will change.
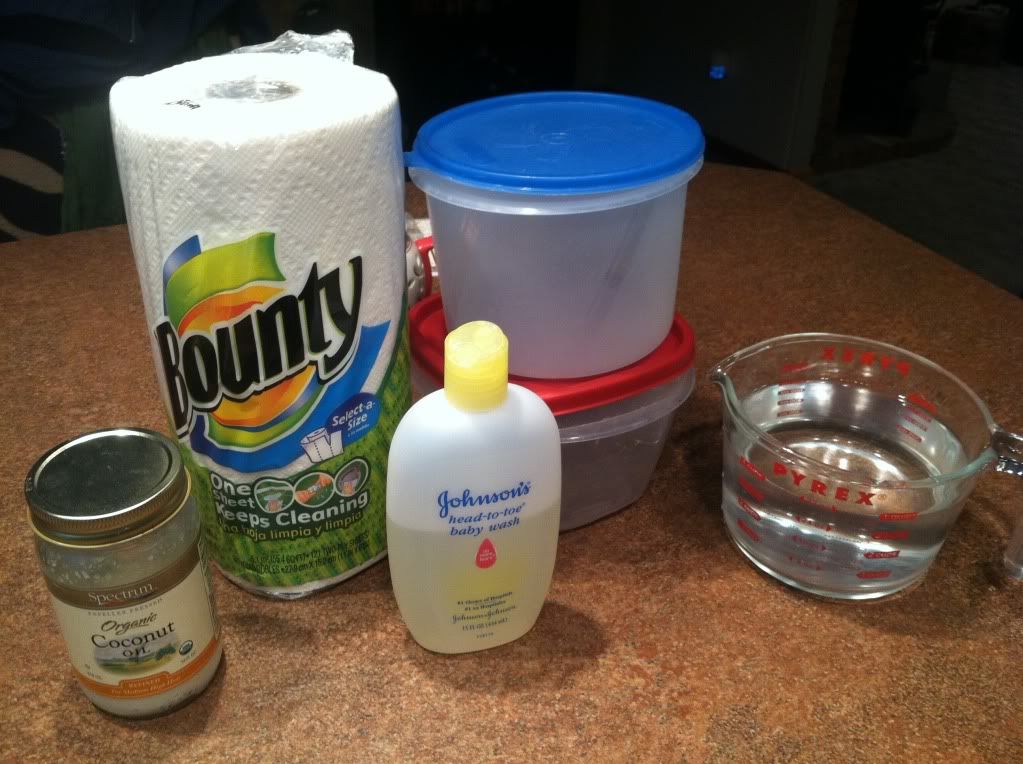

Spring always gets me in major cleaning mode.  Cleaning the house has been in full swing here and I have become an organization fool.  But I also have wanted to try my hand at my making my own cleaning/beauty supplies and I decided to start with this great homemade makeup remover wipe recipe I found on Pinterest (oh Pinterest how I love thee).  It is via WhiteHouseBlackShutters.
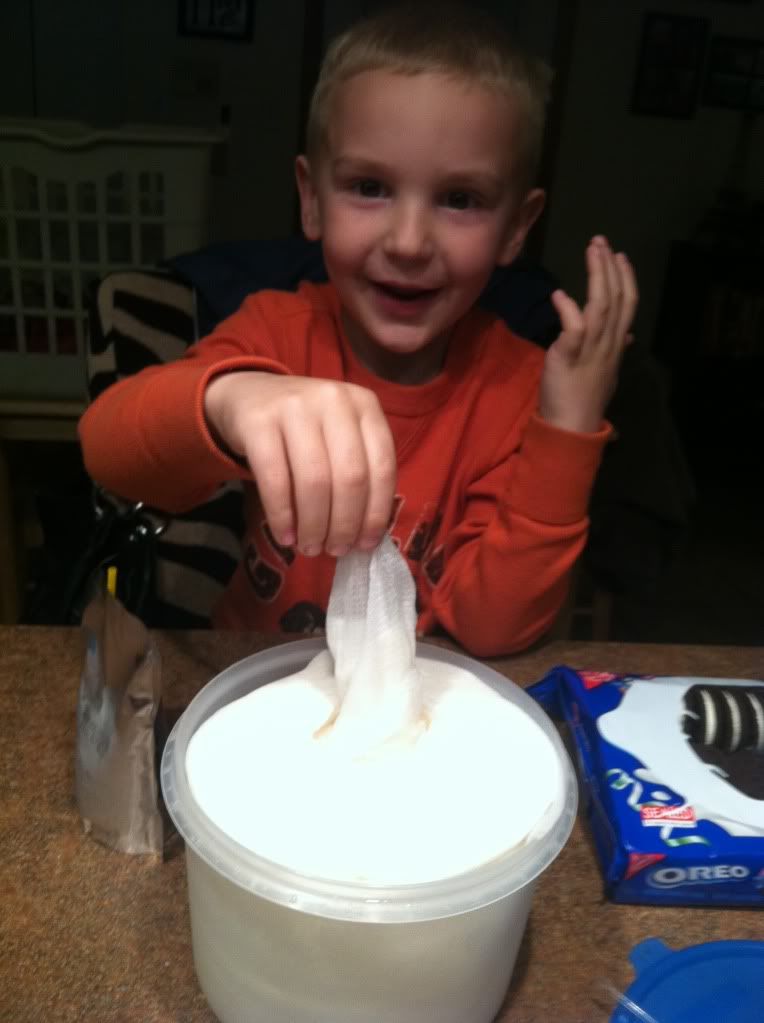

                                                Even Rowdy was shocked by how cool and easy this was!
You will need:
1 roll Bounty Select a Size
2 Tbls coconut oil (melted)
1-2 squirts baby wash (I used J&J Head to Toe)
4 Cups water
2 containers (I used one rubbermaid and one generic I had laying around)

Whatcha do:
Cut paper towel roll into 2 equal parts using a butcher knife (not serrated, you get fuzzies).  In bowl mix water, melted coconut oil, and baby wash together.  Pour equally into the two containers.  Put cut paper towel roll cut end down into plastic container.  Push down in mixture and secure lid.  Flip both containers upside down and let sit for no less than 5 minutes.  Then open up and pull cardboard out from center.  Pull up center wipe and Voila!
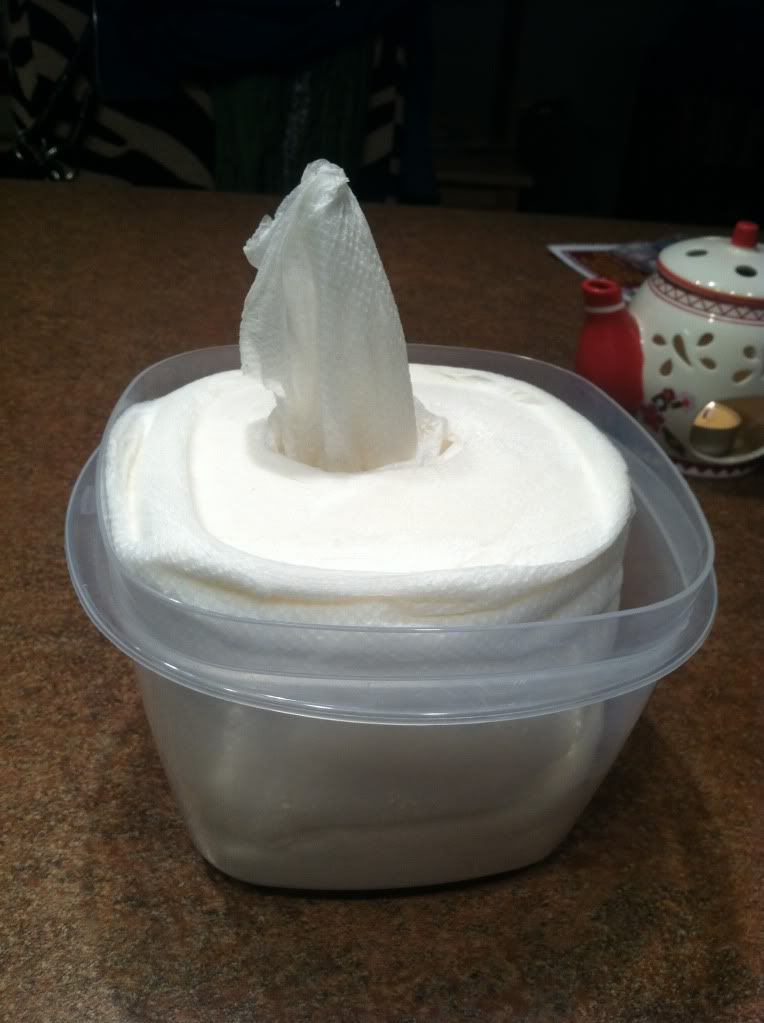


This "recipe" was originally for baby wipes so they work for that as well.  I tried them tonight and I gotta say......my face feels clean and soft.  I think I found my solution to those expensive face wipes I always buy.  This will save me money and I know what I am putting on my face.  


Happy Spring Everyone!

Wednesday, January 4, 2012

Composting: A New Year's Resolution Complete

I am so happy to report that I have completed a New Year's Resolution and have officially started composting.  It was so easy to get started.  I followed the simple instructions on http://www.thefrugalgirl.com/


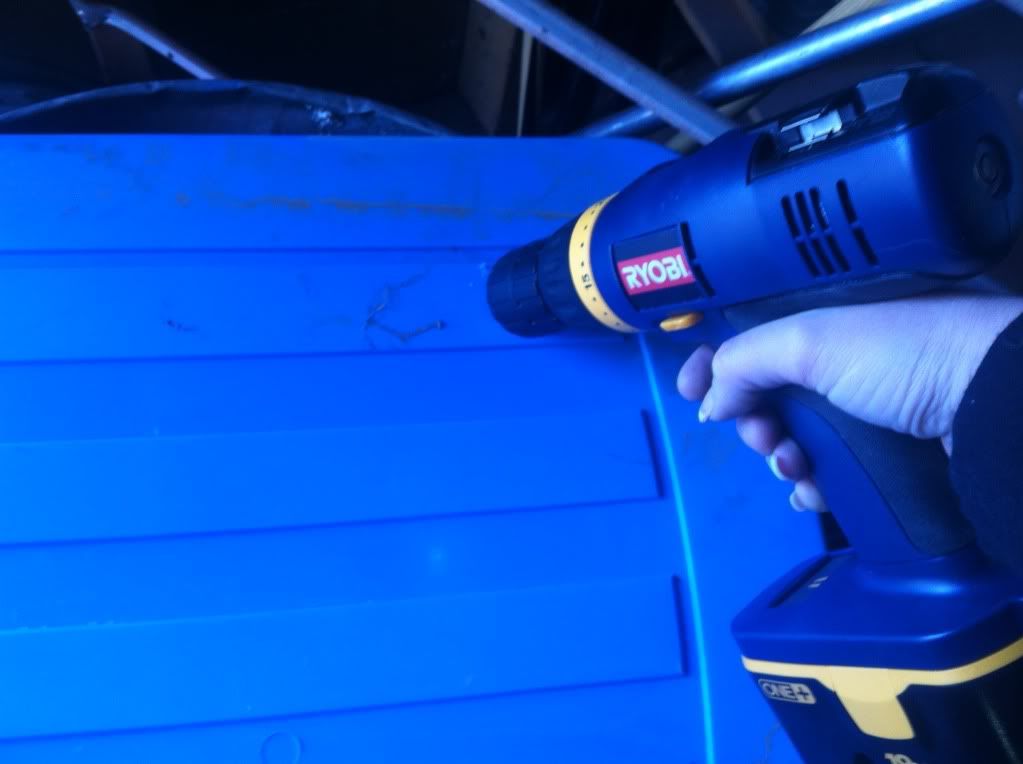
Drilling holes was easy peasy lemon squeezy.

Using simple Rubbermaid like containers is all you need to get started.  Luckily I had 2 generic ones in my garage that were collecting dust so that is what I used. 

Start by drilling holes evenly around the lid of the container.  Maybe a few in the middle to allow for aeration.  Then flip the container over and drill a few holes on the bottom for drainage. 

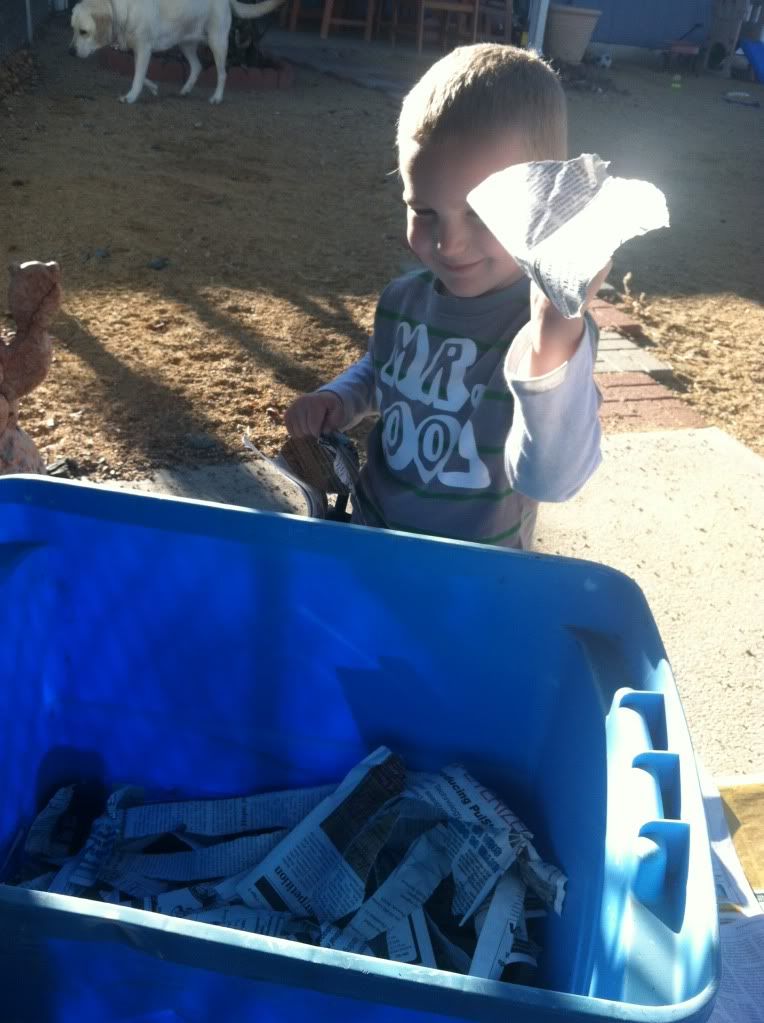
Don't get too excited.  He didn't help for long. 

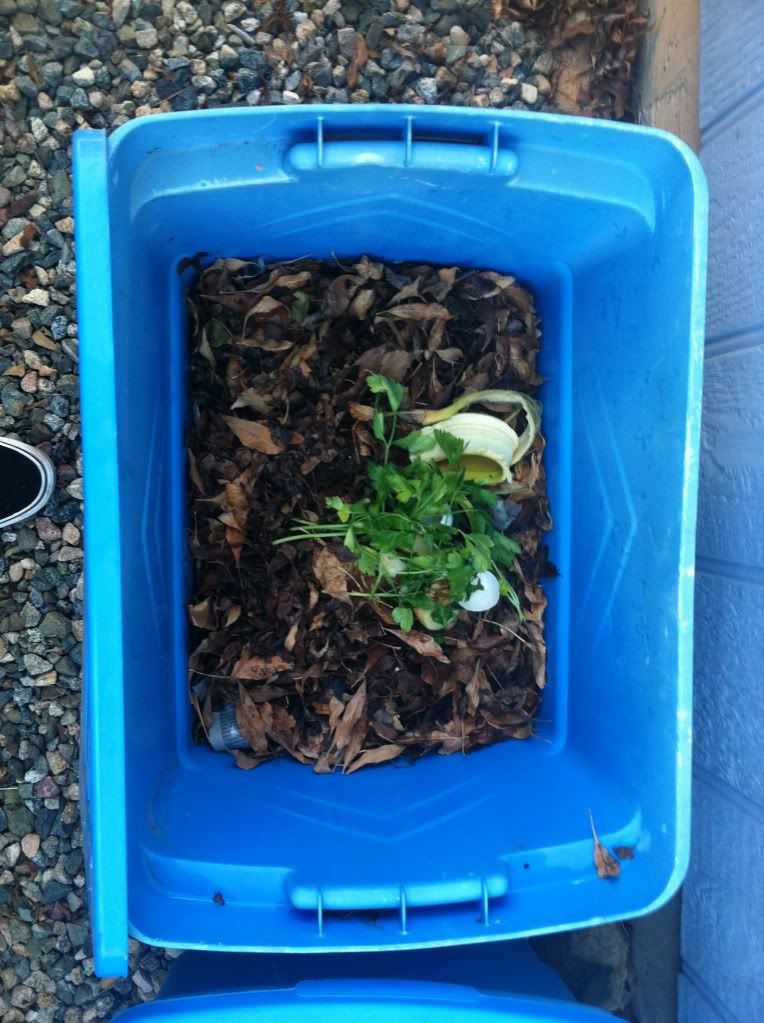
Next, start to add your shtuff to your bin.  Start with a layer of shredded newspaper.  Then add some dried leaves.  Water this down but don't drown it.  Finally, add your kitchen scraps (fruits and veggie bits, egg shells, etc) and put a lid on it. 


Not much but it's a start.  I need the neighbors coffee grounds now.

Make sure to turn your mixture every 3 or 4 weeks to mix it up.  It will start to turn into compost soil within a few months.  I made two bins mainly because I had two but I figured I could get one going and then go back and forth.  I don't think I will have enough soil for this year's garden but you never know.  Hopefully worms will find their way in as well.  That makes it even better!

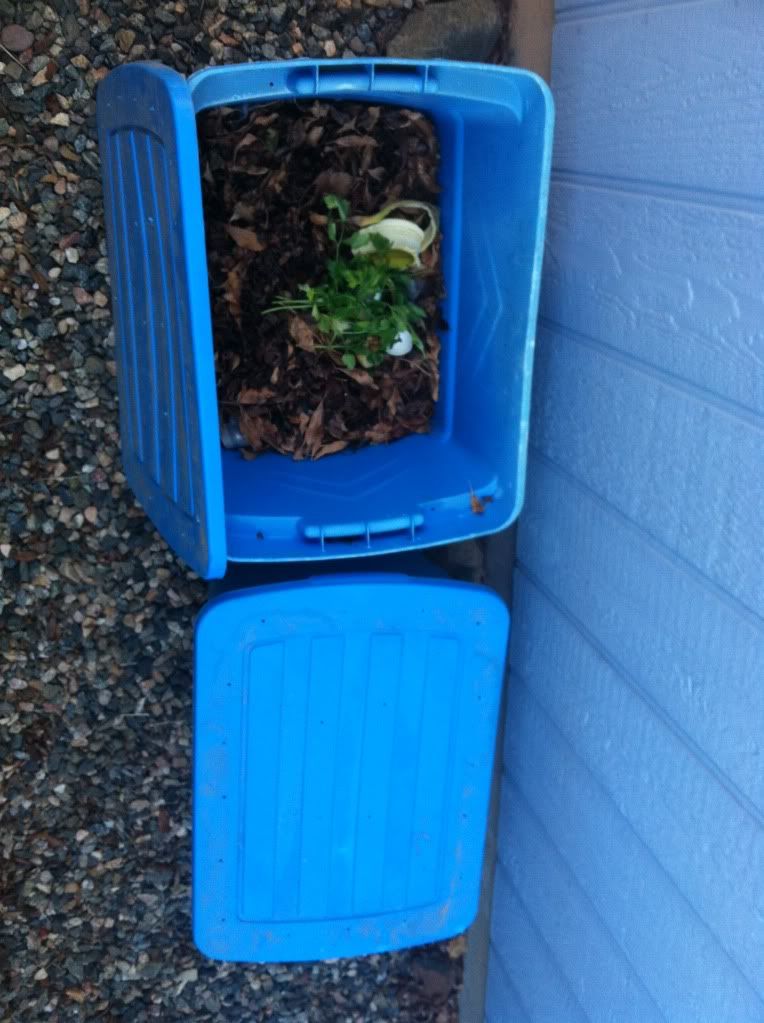
These two frugal compost bins have made a home behind my garage.

We now keep a bowl in the kitchen for kitchen scraps and Rowdy is learning what we can compost.  Then when it fills up, Rowdy runs it out to the bin.  He is really learning alot about what we can do to lighten our footprint on the world.  That makes it all worth while.